This is a sponsored post between Stonewood Products and of Finding Silver Pennies and contains affiliate links. All thoughts, words, pictures, and ideas are those of Danielle.
You may remember, I’ve shared my bedroom inspiration with you and where we left off last week I was telling you about the wide plank flooring we chose for this room. The floors are by Chestnut Hill and are very wide planks of French Oak that are pre-oiled. I went into all the reasons we chose this flooring for our home in that post.
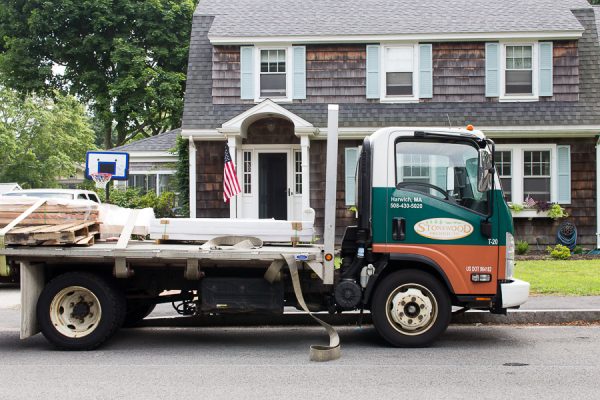
Last month, their truck arrived with my floors and I was soooooo excited. Yay!
We had to let the flooring acclimatize to the room so we left it in our guest room and I went to the Haven Conference. The weekend I got back, we moved EVERYTHING out of our bedroom and got to work!
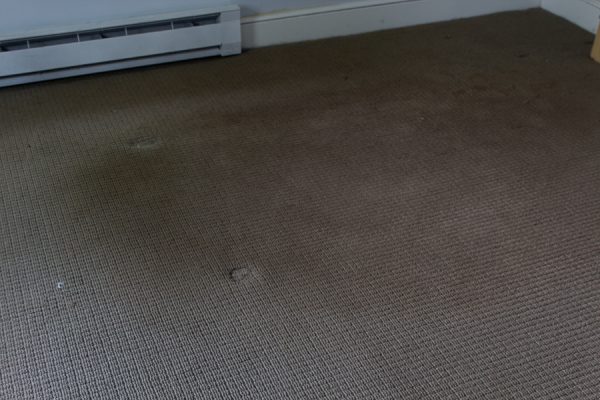
I have to show you how gross the rug was under the bed. This is where Poppy sleeps:
We removed the radiators and got to work. Removing everything and installing the floors took us a weekend.
HOW TO INSTALL HARDWOOD FLOORS
I actually made a video which you may like to watch about the process. Conor is in his jammies on my lap which is cute. He really loved helping us, which was really him bringing his toy tools in and jack hammering the underlay.
There are several ways to install Sawyer Mason Wide Plank Flooring. You can nail, glue, nail and glue, or float. We decided to do the last based on the requirements for this. We felt it would be the easiest for us as well. I really wanted to run the flooring along the long edge of the room and I’m so glad the joists were the right way to do this. Laying the floor this way will make our room appear larger.
WHAT YOU NEED TO INSTALL HARDWOOD FLOORS
Materials
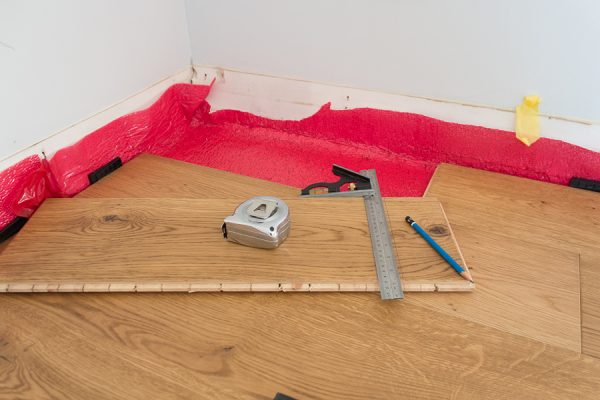
- Pencil
- Tape Measure
- Safety Glasses
- Utility Knife
- Hammer
- Shim Wedges
- Tapping Block
- Rubber Mallet
- Carpenter Square
- Pry-Bar
- Dust Mask
- Underlayment Pad (3-in-one)
- Titebond III
- Saw (for cutting)


STEP BY STEP HOW TO INSTALL HARDWOOD FLOORS
Step 1 – Remove EVERYTHING from the room. EVERYTHING. This took us HOURS and the rest of the second floor is now a mess.
Step 2 – Remove current flooring. We removed the wall to wall carpeting and cut it into smaller pieces to make it easier to carry to the truck. Remove the existing underlay, if there is any. Be sure to get rid of all staples and nails. Be careful this stuff is sharp and there seem to be nails and staples in places you don’t expect.
Step 3 – Remove baseboard and radiators. Luke used a pull-bar to remove ours. You only need to do this step if there isn’t already a gap underneath the baseboard wide enough to fit the flooring and underlayment. We will be replacing the baseboard with new and we’ll be adding paneling to the walls too.
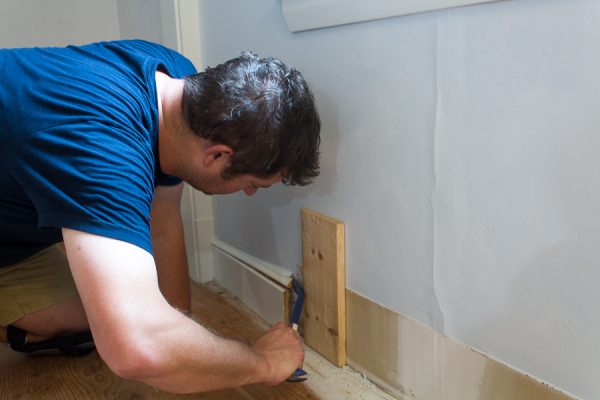
Here you can see the subfloor and without baseboard and heaters:
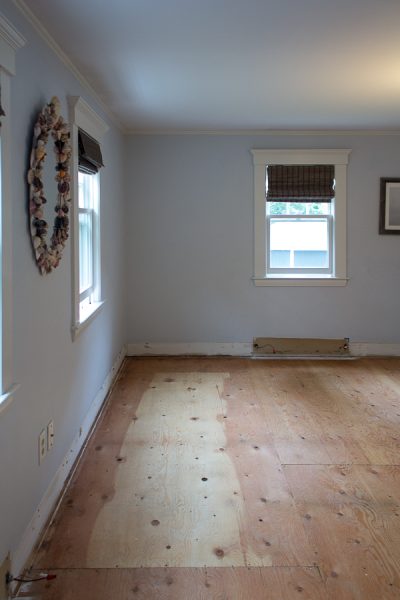
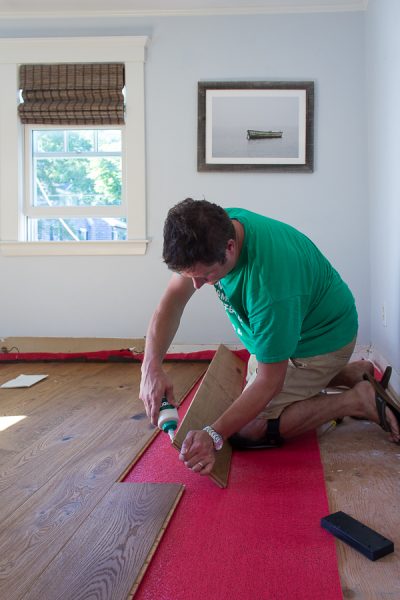
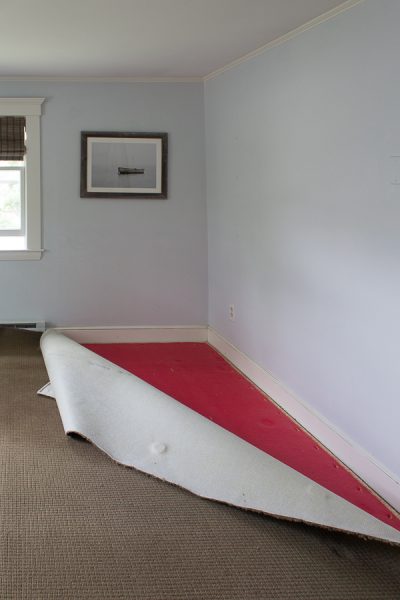
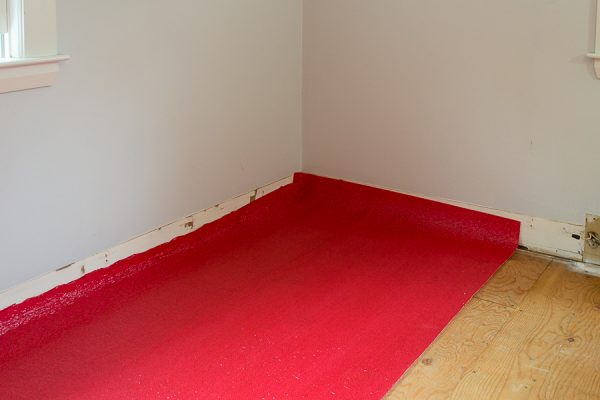
Step 4 – Underlay is necessary as a barrier for sound, mold and moisture. This is the one we bought:

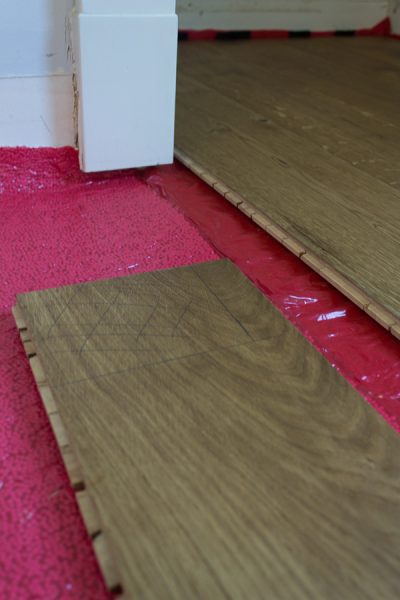
We ended up needing two and a bit rolls. We placed this as we worked. So put it down, then installed the wood, then put more down. You need to leave some overlapping the sides of the walls which will be trimmed before we install the baseboard.
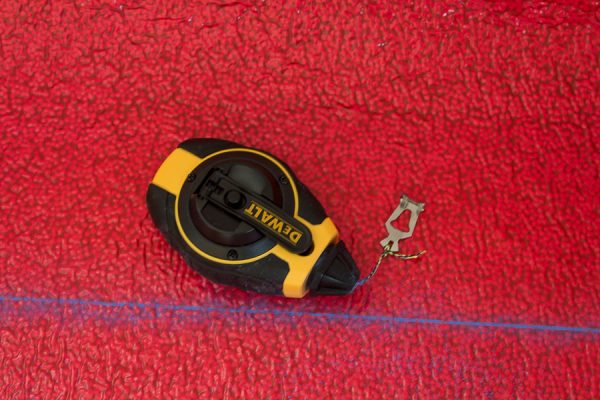
Step 5 – Use a chalk line to mark the front edge of the first board. This gives you a completely straight line and will also ensure the right amount of spacing between the wall and the floor boards. Hardwood floors expand and contract so they need to have room to move along the edge of the room or your floor could buckle or warp.
Step 6 – Working from several boxes at a time, select planks for the room, this ensures that the floor tones will be mixed and not too uniform. It’s important to try and scatter the joints across the floor. You should start on an exterior wall.
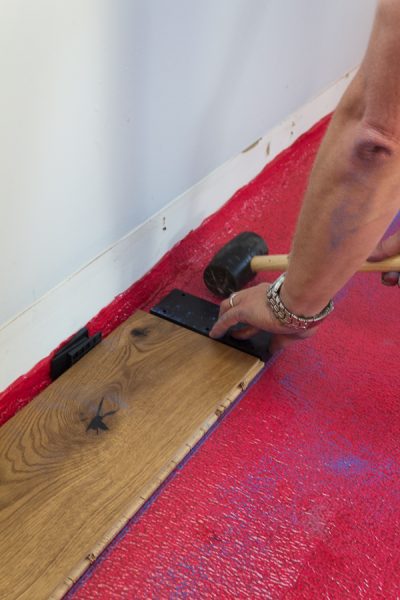
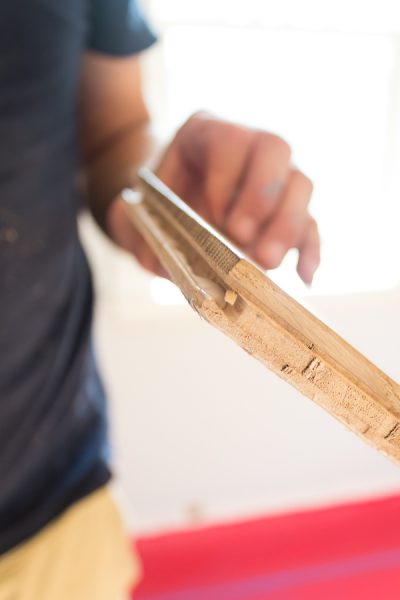
Step 7 – Use wedges to keep the wood spaced from the wall correctly and use a mallet and tapping block to fit wood planks together.
Step 8 – We decided to float the floors, so used Titebond III to hold the planks together.
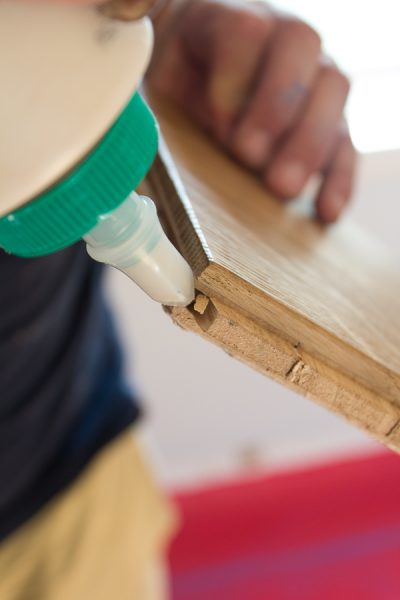
It’s important to glue the lower groove. Wipe any glue drips immediately with a damp cloth.
Step 9 – Measure carefully and make any necessary cuts under the door frames. We actually had to trim the bottom of our door frames so they’d be higher than the thickness of the underlay and the new floors.

Step 10 – Once you’ve installed the very last piece, allow your floors to dry for 24 hours before walking on them.
Here’s how our floors look now! We still have to add the baseboard ????
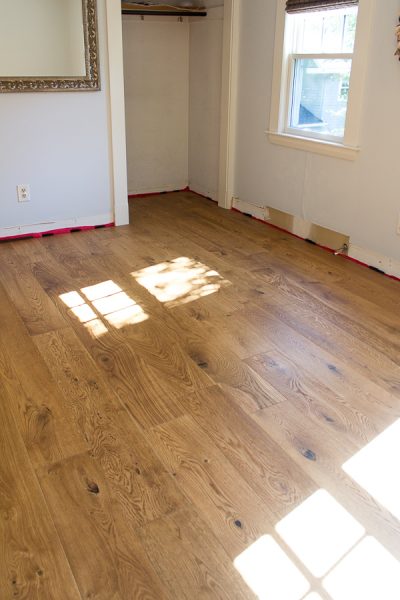
Aren’t they beautiful. We rented a buffer and added some Woca’s Maintence Paste for added durability. You can see Luke using it in the video. It took a bit of getting used to using the machine. It’s very heavy.
We are thrilled with our new floors and LOVE the color and feel of them underfoot. Please email me or leave questions in the comments. Stonewood Products ships flooring nationwide and we’re so delighted to be working with them on our bedroom. You can install it yourself as we did (and they have lots of installation instructions and were helpful with questions) or you can have a professional do it for you.